博客搭建指南
本文主要介绍了该博客的搭建过程,在 Lil’Log 的基础上,修改了代码框的样式,以及使用 pygments 语法高亮,解决了插入图片的问题。
前言
为什么要辛辛苦苦自己搭建一个博客呢,主要还是考虑到兼顾美观和实用性。
我的写作流程主要如下:
-
第一步是写作,使用的书写软件有
- notion
- 语雀
- wolai
- typora
- vscode
其中写作体验最好的是
wolai和typora。 -
写完之后整理修改,然后发布。从笔记的角度来看,notion和wolai无疑都是很好的,但如果从阅读的角度来看,它们又差了点意思。语雀以知识库的形式储存文章,润物细无声地将知识结构化,这给人的阅读体验就非常棒。
但语雀最大的缺点在于写作体验太差,界面样式太丑。对于第一个问题,我一般在typora上书写,然后复制到语雀上发布,缺点是修改和备份比较麻烦;对于第二个问题,我使用Stylus 插件,自己写了一个css样式如下,具体可以看我的博客:语雀样式美化,修改之后显示效果倒也还行。
然而语雀更大的问题在于对数学公式的支持太差,除了输入很不方便以外,在windows上的显示也很差劲,无论是web端还是桌面端,公式与正常文字永远都对不齐。由于公式都是用SVG显示,导致我想自己修改也无能为力(也许可以通过修改css实现),这对于数学系的我来说无疑是一个暴击。
最后思来想去,还是用GitHub+markdown的形式比较好,修改和同步都非常方便,在此基础上自动生成博客也方便浏览,最重要的是不用操心图床,域名和服务器的问题。
- Hexo:我之前使用Hexo搭建了博客,但Hexo每次发布之前要输一堆指令,用CL自动化又颇为麻烦,中间徒增一些不稳定因素。
- Hugo:Hugo是一个不错的选择,但暂时还不太熟悉。
- Mkdocs:OI Wiki 就是用其搭建的,但这种形式对内容的结构化要求非常高,一些日常笔记放上去会显得不伦不类。
- Jekyll:综合来说这个是最满足要求的,优点是历史悠久比较完善,主题也丰富。缺点是速度比较慢。但最重要的是与GitHub Page无缝衔接,用起来就很舒服。
选择完之后,就是博客的搭建过程。对于主题的选择,我比较喜欢 Lil’Log 的样式,因此 fork 下来之后就直接上手修改。
博客搭建
安装Jekyll
参考:
- [Jekyll] macOS 安装 Jekyll - 知乎 (zhihu.com)
- Jekyll on macOS Jekyll • Simple, blog-aware, static sites (jekyllrb.com)
第一步,安装ruby
brew install ruby
安装完之后,会有如下提示,因为mac已经预装了2.6 版本的ruby。
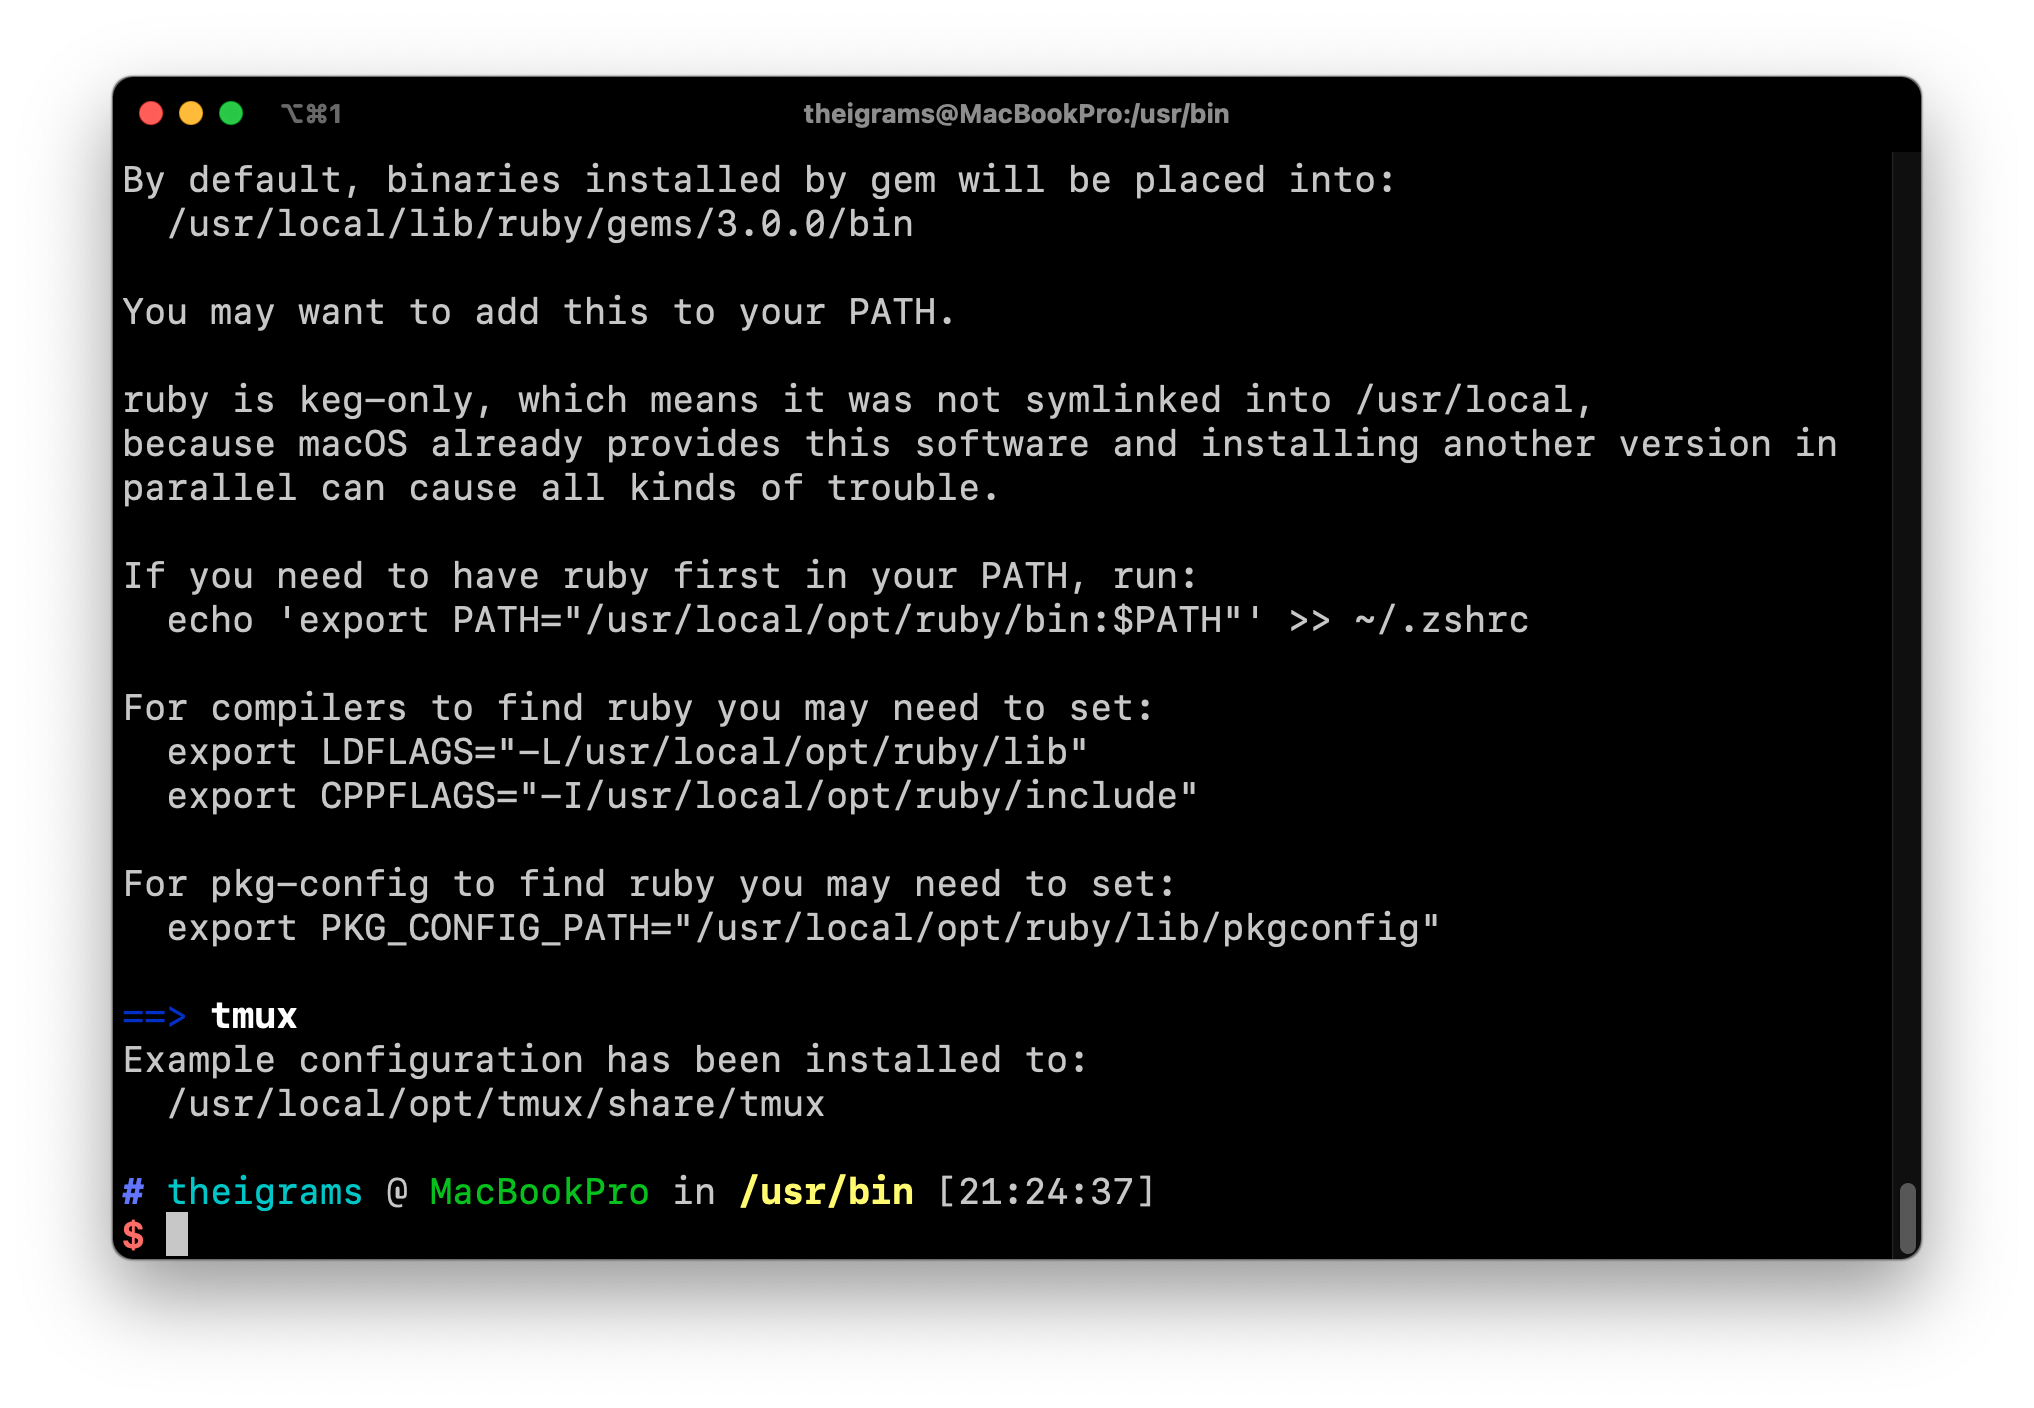
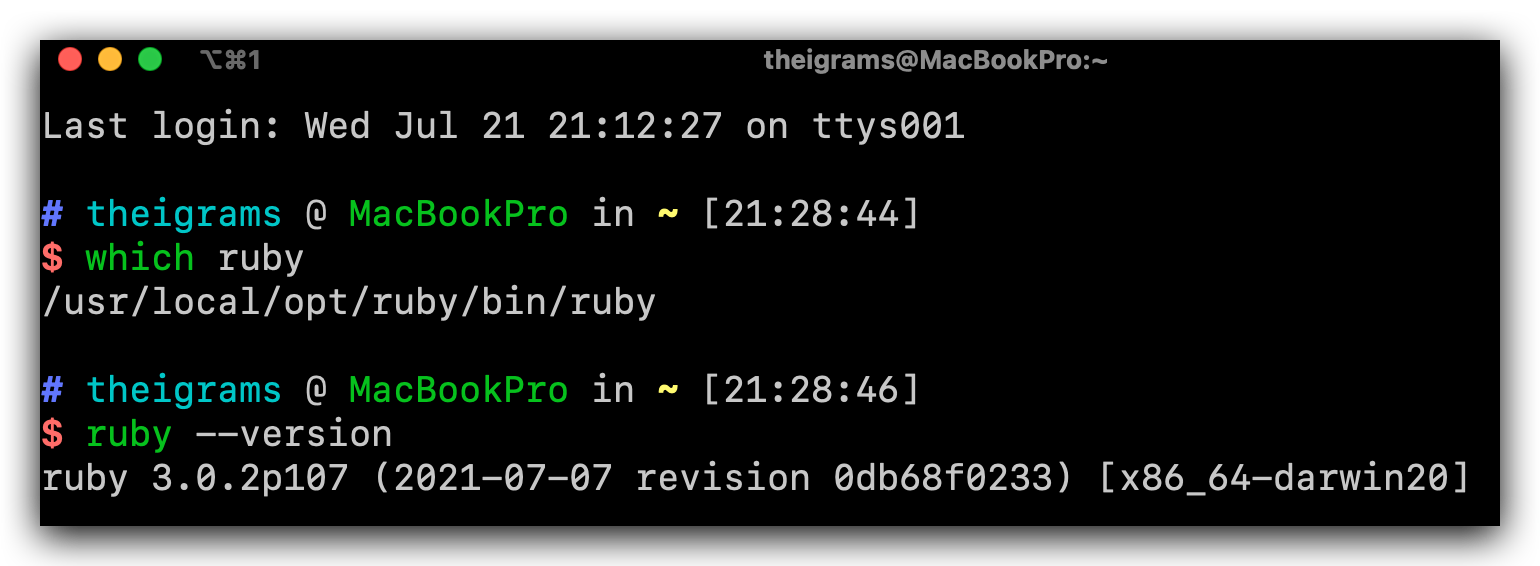
因此,我们要将默认的ruby路径改为新版本的,在重启终端之后,可以看到ruby路径已改变。
echo 'export PATH="/usr/local/opt/ruby/bin:/usr/local/lib/ruby/gems/3.0.0/bin:$PATH"' >> ~/.zshrc
第二步,安装jekyll:
gem install --user-install bundler jekyll
将Jekyll添加到路径,注意这里是 3.0.0 而不是 3.0.2。
echo 'export PATH="$HOME/.gem/ruby/3.0.0/bin:$PATH"' >> ~/.zshrc
运行Jekyll
jekyll new myblog
cd myblog
bundle exec jekyll serve
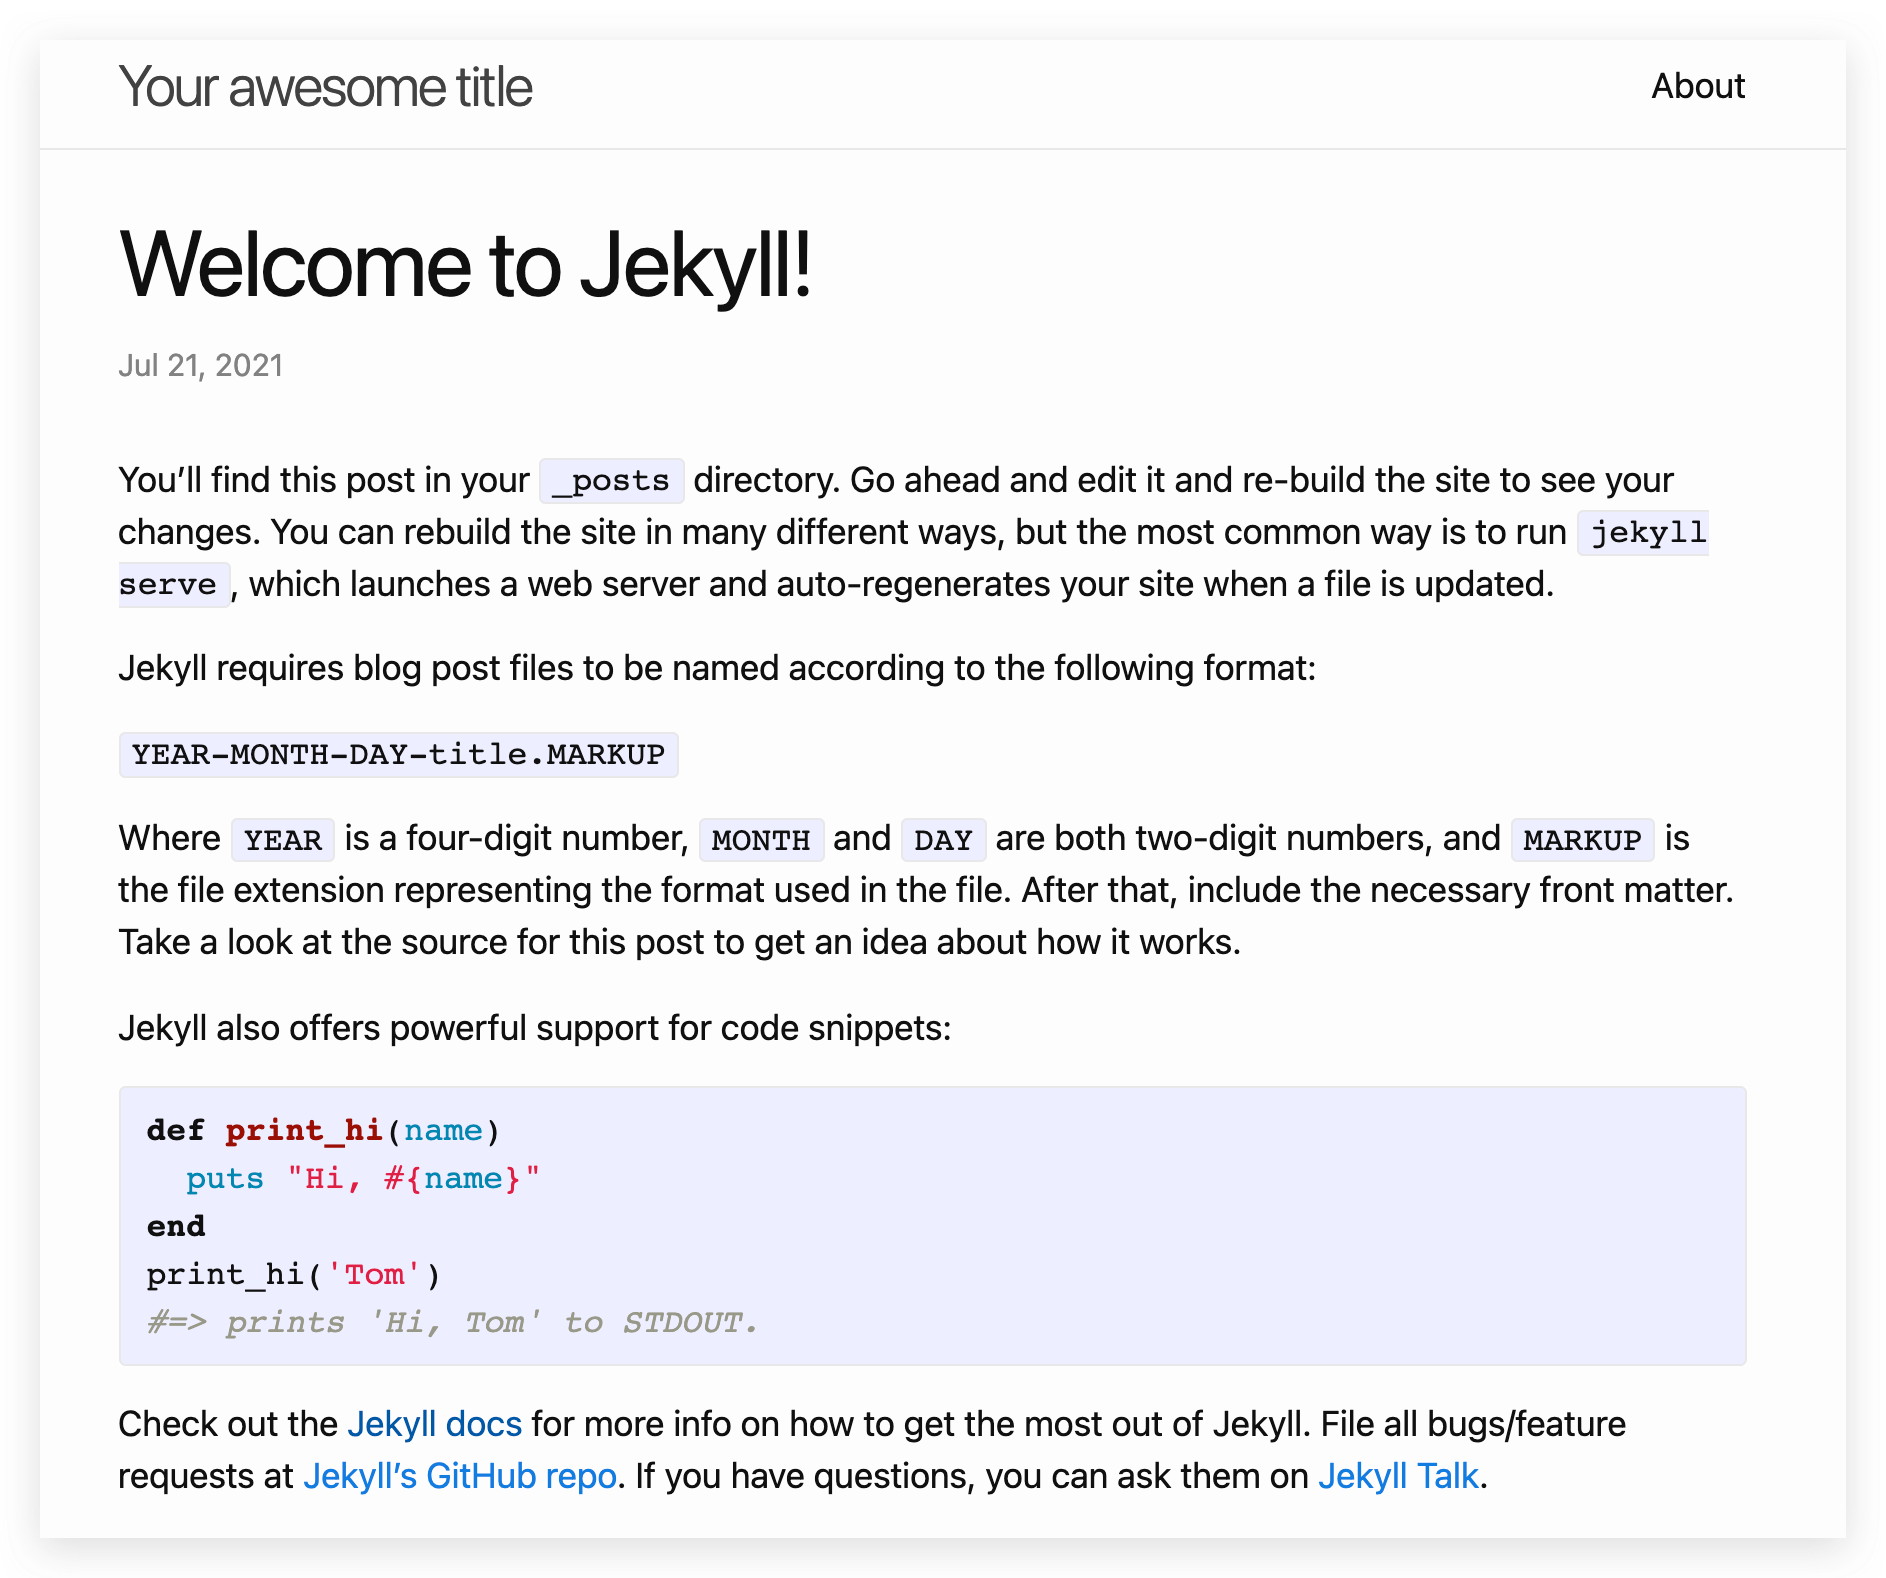
这样 Jekyll 就在本地环境上跑起来了,接下来是进行一些个性化修改,修改过程比较繁琐,这里就略去不提,可以参考以下链接:
简介 – Liquid 模板语言中文文档 - Liquid 中文网 (bootcss.com)
Github Pages + jekyll 全面介绍极简搭建个人网站和博客 - 知乎 (zhihu.com)
博客搭建(四) 使用Jekyll写博客 (watchzerg.github.io)
效果测试
表格
| AI 框架 | 使用人数 | 特性 |
|---|---|---|
| tensorflow | 多 | 多在工业界使用 |
| pytorch | 多 | 学术圈常用 |
| paddle | 少 | 可以白嫖服务器 |
语法高亮
这是 行内代码,this is inline code.
import torch as tf
print(a)
#include <iostream>
using namespace std;

#include <iomanip>
using std::setw;

int main()
{
    int n[10];
    for (int i = 1; i <= 10; i++)
    {
        n[i] = i + 100;
    }
    cout << "Element" << setw(13) << "Value" << endl;
    for (int j = 0; j <= 10; j++)
    {
        cout << setw(7) << j << setw(13) << n[j] << endl;
    }
    return 0;
}
公式
Using Bayes’ rule, we have:
\[\begin{aligned} q(\mathbf{x}_{t-1} \vert \mathbf{x}_t, \mathbf{x}_0) &= q(\mathbf{x}_t \vert \mathbf{x}_{t-1}, \mathbf{x}_0) \frac{ q(\mathbf{x}_{t-1} \vert \mathbf{x}_0) }{ q(\mathbf{x}_t \vert \mathbf{x}_0) } \\ &\propto \exp \Big(-\frac{1}{2} \big(\frac{(\mathbf{x}_t - \sqrt{\alpha_t} \mathbf{x}_{t-1})^2}{\beta_t} + \frac{(\mathbf{x}_{t-1} - \sqrt{\bar{\alpha}_{t-1}} \mathbf{x}_0)^2}{1-\bar{\alpha}_{t-1}} - \frac{(\mathbf{x}_t - \sqrt{\bar{\alpha}_t} \mathbf{x}_0)^2}{1-\bar{\alpha}_t} \big) \Big) \\ &= \exp\Big( -\frac{1}{2} \big( \color{red}{(\frac{\alpha_t}{\beta_t} + \frac{1}{1 - \bar{\alpha}_{t-1}})} \mathbf{x}_{t-1}^2 - \color{blue}{(\frac{2\sqrt{\alpha_t}}{\beta_t} \mathbf{x}_t + \frac{2\sqrt{\bar{\alpha}_t}}{1 - \bar{\alpha}_t} \mathbf{x}_0)} \mathbf{x}_{t-1} + C(\mathbf{x}_t, \mathbf{x}_0) \big) \Big) \end{aligned}\]其他问题
插入图片
Jekyll 不能在 _posts 里新建文件夹,这也意味着不能直接在当前路径下插入图片,参考该链接下的回答:Jekyll博客中如何用相对路径来加载图片? - 知乎,最好的方式是使用图床,但由于配置较麻烦,我暂时采用的方式是先将在typora中设置将图片保存到 ../assets/images/${filename} 文件夹下,然后发布时统一替换成相对站点的路径即可:
# 匹配字符串
../assets/images

# 替换字符串
{{ site.baseurl }}/assets/images
[Updata on 2021-07-24]:找到了更好的图片预览解决方案。
之前的方法每次发布前都要执行一次路径替换,并且用 site.baseurl 也不符合 markdown 语法。
其实我的 site.baseurl 就是 zjblog ,因此图片保存路径不变,只需将 typora 的根目录修改到 zjblog 这一级即可,这样的话插入图片时 typora 自动生成的图片路径为 /zjblog/assets/images/${filename}/*.png,如此一来就可以完美预览图片。
而要更改 typora 根目录,只需在 front matter 中加入以下代码:
typora-root-url: ../..
插入目录
使用如下代码:
{:class="table-of-content"}
* TOC
{:toc}
数学公式
默认的 MathJax 不支持以 $ 作为定界符,参考 TeX Input Processor Options — MathJax 3.2 documentation 的设置,在 head.html 中加入如下代码即可:
<script>
    MathJax = {
        tex: {
            inlineMath: [
                ['$', '$'],
                ['\\(', '\\)']
            ]
        }
    };
</script>
<script type="text/javascript" id="MathJax-script" async src="https://cdn.jsdelivr.net/npm/mathjax@3/es5/tex-chtml.js"></script>
另外我发现 MathJax3 不能选中公式中的字符了,看了很久官方文档都没看到在哪可以设置,最后还是从 Mathjax in HTML: Cannot select equations - Stack Overflow 中找到了答案,这个功能在 Version 3 版本中已经被废弃了:
You are correct that MathJax output can’t be copied directly from the page in version 3. Version 3 uses CSS with
contentproperties in order to insert the characters into the page, andcontenttext is not selectable in the page.In general, copying MathJax output would only be reliable with the simplest of expressions (nothing involving super- or subscripts, fractions, roots, arrays, multi-character stretchy delimiters, accents, etc.), so this was never a supported feature for MathJax.
On the other hand, it would be possible for MathJax to insert the characters directly rather than use
contentCSS, and an extension to implement that would be possible. Example code for doing that is available in the MathJax User’s Forum.
语法高亮主题
使用 pygmentsTheme,此处参考 HardCandy-Jekyll 主题配置。
评论系统
本来打算用来必力的,但注册了很久都没成功,不知道出了啥问题,只好用 Gitalk,安装过程可以参考 Gitalk评论插件使用教程,虽然要 GitHub 账户才能评论,不过一想估计也没人评论,顿时就无所谓了。
文章不显示
参考 在 Github 上搭建自己的博客 - Harttle Land ,如果文章没有显示,可能是文件名里的文章日期在未来。这种情况 Jekyll 默认是不产出 HTML 的。但也有可能是你所在的时区比 Github Pages 服务所在的时区更提前,如果要强制未来日期的文章都显示,可以在 _config.yml 里加入 future: true 配置。
插入网页
有时候插入代码不方便,可以将 jupyter notebook 转化成网页,然后再嵌入文章中,对于网页 PCA.html,嵌入代码为:
<iframe width="750" height = "600" src="/zjblog/assets/images/2021-7-21-introduction/PCA.html" frameborder="0" allowfullscreen></iframe>
效果如下:
后台管理
Jekyll Admin: A Jekyll plugin that provides users with a traditional CMS-style graphical interface to author content and administer Jekyll sites. The project is divided into two parts. A Ruby-based HTTP API that handles Jekyll and filesystem operations, and a Javascript-based front end, built on that API.
在 _config.yml 中添加如下配置即可
jekyll_admin:
  hidden_links:
    - posts
    - pages
    - staticfiles
    - datafiles
    - configuration
  homepage: "pages"
用法
- Start Jekyll as you would normally (
bundle exec jekyll serve) - Navigate to http://localhost:4000/admin to access the administrative interface